


3 Steps to Organize Your Photos like a Pro
DIY
By
Christian Roemer
Editor's Picks

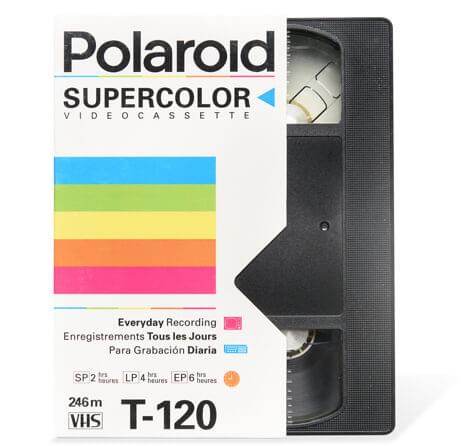
iMemories Reviews: Uncovering the Pros and Cons
Digitization makes it easy to preserve precious memories. Many services promise to transform analog media into beautiful digital versions. This is a good thing; the customers of yesteryear struggled to...

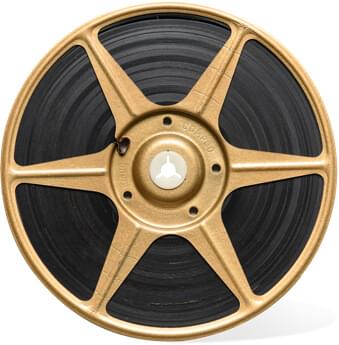
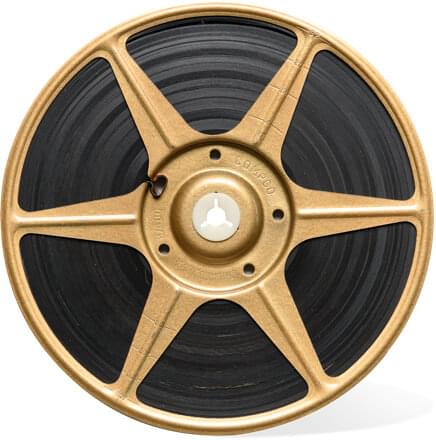
How Do I Know if My Film Is 8mm or 16mm?
Whether you’ve actually watched old film reels firsthand or not, you probably at least know it comes (more like came) in several different formats– 65mm, 75mm, 35mm, 16mm, and of course,...

10 Tips For Making The Perfect Birthday Slideshow
On the hunt for a unique way to wish a loved one a happy birthday? If you're planning a party and want to make this event extra meaningful, show you...