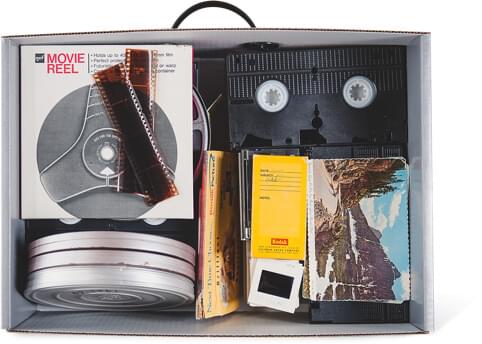
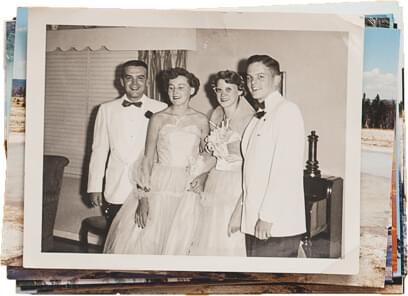

So you’ve made a solid move and had your photos digitized, preserving those precious memories for generations! Now, it’s time to have some fun with those prints! Picture coasters are a great way to display your memories to family and friends without the need for dozens of photo frames. If you’re children or grandchildren are out on summer break, crafts are always a fun and affordable form of entertainment.
Afterwards, everyone will have a memento from a fun afternoon and coasters featuring the smiling faces of their favorite people!
You’ll just need these simple supplies to get started: Square tiles, Mod Podge, paint brushes, pencils, scissors, and your best loved photos. You can easily find a variety of tiles at your local hardware store, and the rest can be purchased from any craft retailer.
Cut to Size
You’ll need to cut your photos to fit the tile. An easy way to do this is to flip your photo face down, and place the tile on top. Next, use the pencil to trace the outline of the tile on the center of your photo. Double check to be sure the outline features the desired portion of the photo and trim accordingly. Repeat this process for each photo until you have enough to cover all of your tiles! If you’ve chosen a tile with a fun color or pattern, you can also cut your photos slightly smaller than the size of the tile and center the picture. That way, your chosen color or pattern will make a fun backdrop for your image and add a little extra pizzazz to the final product!
Stick Together
Now, you’re ready to Mod Podge! This is the fun part! Find a container you won’t mind tossing (I personally use small paper cups) and pour the Mod Podge. Next, take your paint brush and lightly coat the tile. Using too much will result in a slippery surface when trying to coat the top of your photo, so remember that a little goes a long way! After coating your tile, add your photo and press down to smooth out any air bubbles. You may need to smooth the photo a few times to get a perfectly flat surface. I have a plastic rewards card for just about every store where I shop, and those make great tools for smoothing out your photos! They also clean up very easily, so you can just slide the card back into your wallet when you’re done with your project. No muss, no fuss. Once you’ve smoothed to perfection, set the tile aside to dry for a few minutes as you coat and add photos to the rest of your tiles. You’re half-way there!
Broad Strokes
After adding photos to all of your tiles, start with the first tile and add a coat of Mod Podge using broad strokes. This is where you can be generous, as these top coats will preserve the photos on your coasters against those rings of condensation that appear as your beverage cools. After one generous coat, set the tile aside and work through the remaining coasters one by one. Repeat this process three times, so you have three even coats of Mod Podge on top of your photos. A good tip to remember is to coat the sides of the coaster, in addition to the top, as this will help the photo adhere to the tile more effectively!
Postpone, then Pour
Mod Podge takes a while to dry and harden. If you use your coasters before they have completely hardened, you may see some lift in the photo or create rings on the surface of the coaster. The recommended drying time is 72 hours, so be sure to postpone the use of your coasters while they dry. After 72 hours, you’re all set to enjoy the whimsy and magic of your picture coasters!
Now that you’ve digitized your memories, don’t let those photos sit untouched and unseen in a box or drawer. What better way to show off your favorite memories than serving your family and friends ice cold lemonade atop the beaming faces of your loved ones?


