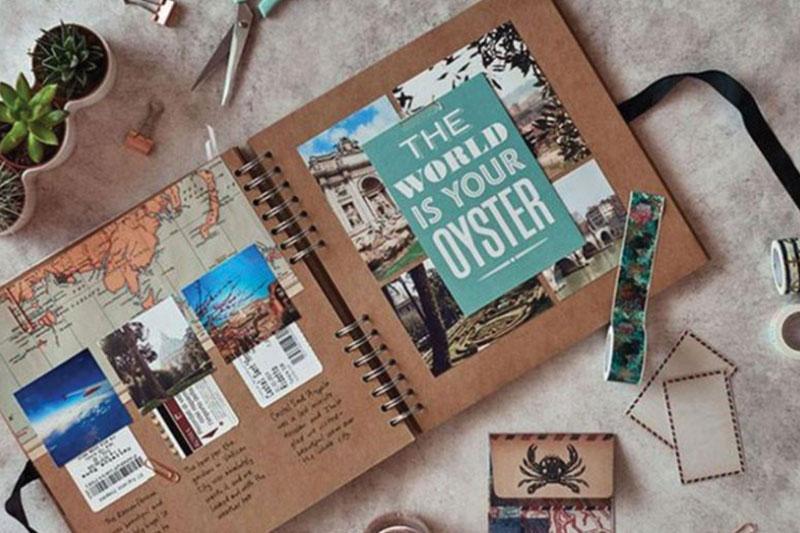
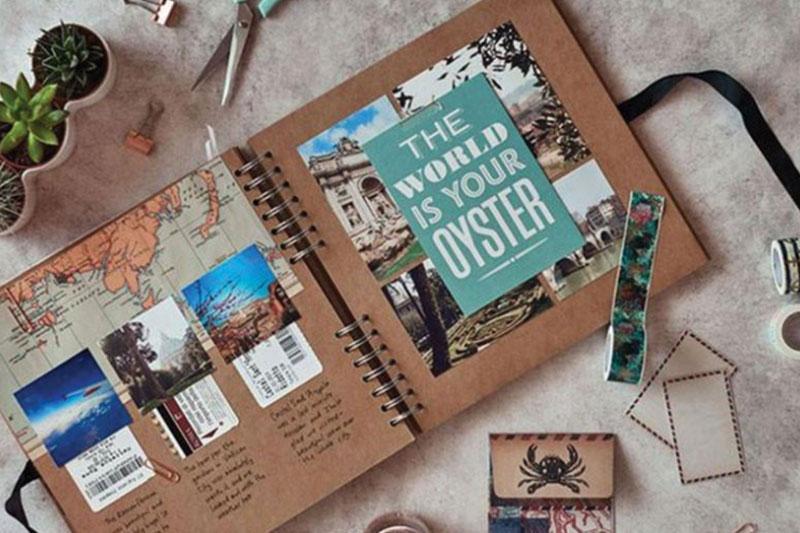
So, you have oodles of photos shoved in a box somewhere under your bed or in that closet that you forbid your guests to open. Why hide such precious moments that carry so much joy in your life? DIY scrapbooking is a fun, creative way to preserve your memories and reorganize your keepsakes. You’ll be able to relive your experiences, as well as having others enjoy seeing past snippets of your life. Here’s a step-by-step guide on how to create your very own scrapbook album like a pro:
1. Pick Out Your Book
You can select a variety of different scrapbooks from your nearest craft store. Whether you want to start small or go big, there are plenty of books to pick from. It’s always best to decide what mementos you’re scrapbooking first. Your wedding day, 1998 Christmas at Grandma’s, or even your favorite pet will offer a great theme and tone. Find a book that matches!
2. Protective Sheets
Now, this might be the last step in completing your scrapbook, but it is a very important purchasing step. Once you have chosen your scrapbook (or maybe the scrapbook chose you) take note of the size. When purchasing your protective sheets, or page protectors, you not only want the sheets to match the exact size but also the exact binder rings. It’s the worst when you get a binder with three rings but purchased sheets that only have two binder ring holes.
3. Grab Some Paper
Your paper will be the background for all of your images, so make sure it reflects the style that you want. Whether you want to keep it simple with solid colors or add some pizzazz with decorative patterned paper, your scrapbook will be beautiful. Just keep in mind that scrapbook paper is double-sided with different patterns! So, one side will be a different background than the other, but that’s what keeps it so interesting.
4. Stickers & Embellishments Galore
Whether you’re a total sticker person or not, stickers will add a lot of emphasis to your scrapbook pages. You can purchase some silly stickers to keep your beautiful scrapbook light and fun or insert some decorative stickers to draw your guests in. You can also settle for sticker letters, that way you don’t have to worry about your own penmanship.
5. Who Doesn't Love Markers?
When creating your scrapbook, some pictures are self-explanatory, while others might need a little explaining. Each photo is special, but the story that came with it is priceless. By journaling a few sentences about what took place, you and others can relive those fond moments in time. Pick colors to match your scrapbook theme or color coordinate with your favorite shades!
6. Glue It On
You can use liquid glue, glue sticks, or scrapbook tape to stick your images on the pages. Scrapbook tape is shaped to fit your hand perfectly, and all you have to do is roll the tip down on each corner of your image. A small, clear piece of tape will be placed with ease.
7. Organize Your Images
Alright, now that you have your gear, it’s time to suit up and begin your scrapbook. First things first: put your images in the order you’d like them to be placed. For example, if you are doing a scrapbook that features everything that happened in the past year, start with your images that began in January, then February, and so on. You’ll have consistency and creating your scrapbook will go by ten times faster since you won’t be fishing for images.
8. Get Crafty With Your Pictures
When placing your images, you can get a little creative and cut your images out in circles, stars, or just leave it as is! You can also cut out paper to frame your image or cut out colored polka dots to give your page some character.
9. Protect Your Memories
Now that your beautiful pages have been created, it’s time to protect those puppies! By adding a protective sheet, your images will not be damaged or collect dust. If you insert anything sentimental, such as pressed flowers from your wedding day or a delicate piece of jewelry, the protective sheets will keep them safe and sound.
10. Enjoy Scrappers
Look at you, you’re a pro scrapbooker! Scrapbooking made easy. Your photo albums will be enjoyed for years to come and will keep your memories preserved for all the world to see. Enjoy reliving your trip to the Bahamas, the times spent with precious family members that have passed on, and your child’s first little league game. Just don’t blame us if we started a scrapbooking fever…it can be addicting.


