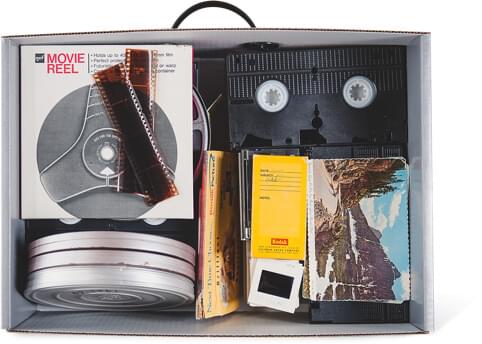
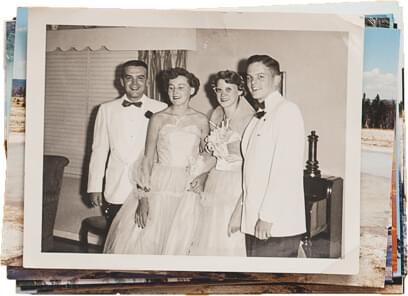

If you’ve got hundreds of photos that you don’t know what to do with, scrapbooking could be your ticket! This DIY hobby is a great way for crafty folk to creatively assemble their favorite moments in a single place.
All you need are your photos, some sturdy scissors, assorted colors of cardstock and scrapbook-grade paper, and any decorations you may want to include, such as stickers or glitter glue.
Like with any craft, personalization is key. This is your scrapbook, and we aren’t here to tell you what to do. Make this what you want it to be. That said, here are some simple tips to making your scrapbook tidy, beautiful, and extra special:
+ Instead of gluing your photos straight to a background color, try making a border around your pic. Glue the photo to a piece of cardstock, leaving a few millimeters around the edges. Then, glue the photo with its own individualized frame to a background paper — a different color than the border you used. This makes the photos pop, while also making the album feel more neat and clean.
+ While things don’t necessarily need to be in a timeline — you can totally have photos from the 60s next to photos from last year — it’s probably good to have at least some sort of theme page-to-page or section-by-section. For example, maybe you want to have several pages of Grandma’s birthday parties over the years, or a page dedicated to your family’s annual Christmas shindig, a section dedicated to your pets or a chapter of regretful school dance dates (you know the ones). The more memories that you can group together, the easier it will be to put together — and the more fun it will be to go through! This gives your scrapbook flow.
+ Consider cutting shapes out of your photos. So, instead of using only rectangular 4x6 pictures, try cutting out the faces or bodies from some of the photos, where other elements of the image don’t add to aesthetic or memory. For example, if there’s a great pic of Mom dressed up like a mermaid for Halloween, with a plain black background all around her, you might want to cut out Mom alone. This saves space, so you can pack in more memories to one page, while also focusing on the subject of the photo — your babe of a mama, and the reason you took the photo!
+ Handwriting little notes in the margins of your scrapbook adds a heartfelt element. Not only will your great-grandkids love seeing your chicken-scratch, but you — and them — will have a blast rereading all of the funny anecdotes associated with certain moments in time. Things that might be otherwise forgotten instead demand to be remembered forever!
So, there you have it! Get to scrappin’! There is no secret to getting started. Just, gather your photos and have fun making something original and edgy that speaks to the life you’ve lived!


