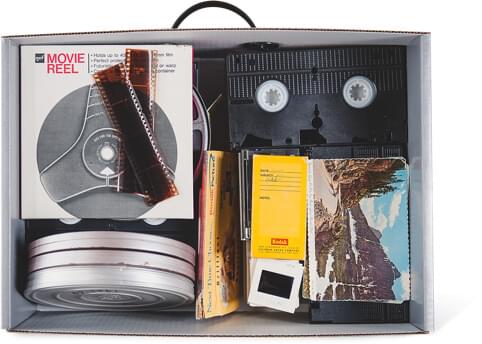
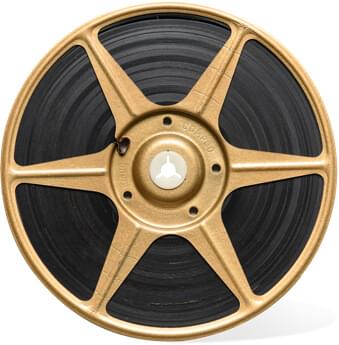
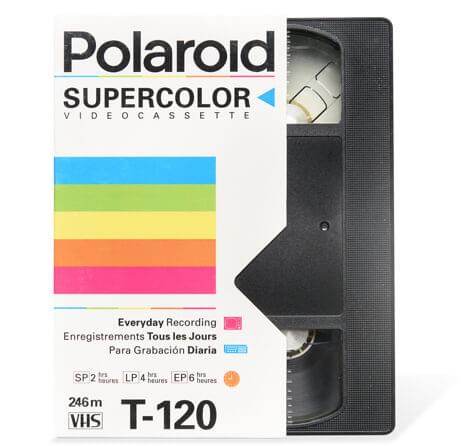
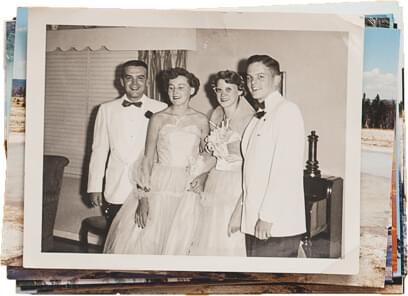
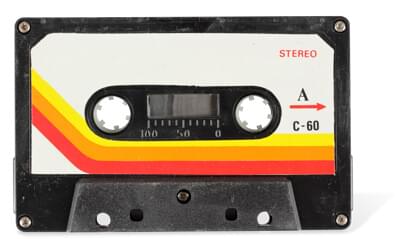

Who here is ready for a fun, cool and crafty DIY?! We all have one item that’s been lying around the house collecting dust: Cassette tapes.
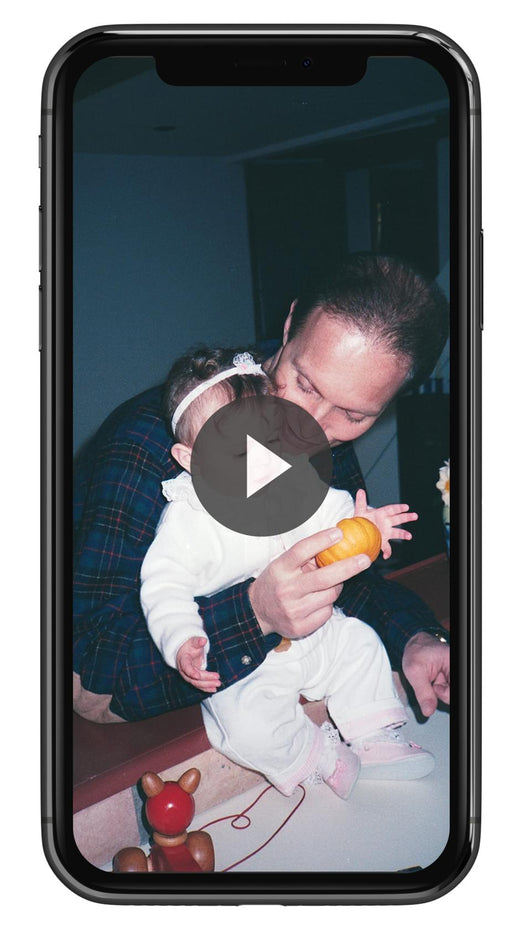
So, what should we do with them (you know, now that your precious memories have been digitized)?
Let’s make a DIY Cassette tape wallet! Fashionable, fun and one-of-a-kind. Oh, and did we mention it’s easy?
Here’s what you’ll need:
- A Cassette Tape
- A 14 inch (or longer) zipper
- You can find this at your local craft store!
- Hot glue gun
- Felt
- Scissors
- Small flat head or phillips screwdriver (if your cassettes have screws)
First Step: Digitize
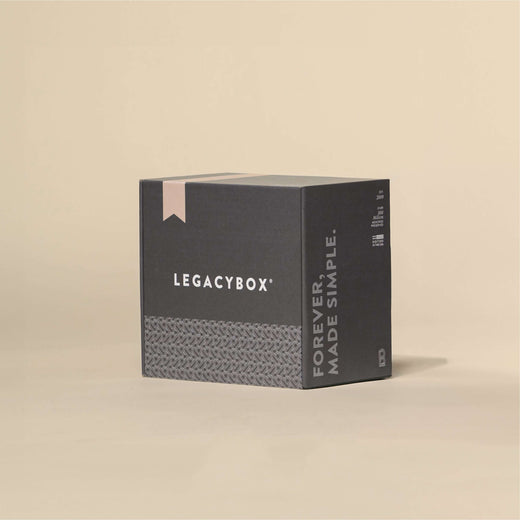
Yep, that’s right! It’s time to digitize your precious cassette tapes! That way, you’ll have them saved digitally forever. It’s simple and Legacybox is here to help. Simple load your cassette tapes into your Legacybox (it’s a super sturdy, crush-proof box), mail your items to our professionals to have your items digitized by hand and then receive your originals plus the digitized formats in just a few short weeks!
Second Step: Surgery
It’s time to take apart your tape! Sounds scary, but you had your tapes digitized, remember? All is safe and well. Check to see if your cassette tape has any small screws. If yes, use your handy dandy screwdriver to carefully take them out and place to the side. If your tape does not have screws, gently place your hands along the crease and slowly pull apart until you have both sides of the cassette.
Once you have it completely open, take out everything on the inside and throw it away. Grab a q-tip or a piece of tissue and gently clean up the inside with a little water or rubbing alcohol.
Third Step: Zip it up!
Measure out your zipper against your cassette tape. Trim your zipper to the right length and plug in your hot glue gun. Once the glue is hot, put a dab of hot glue at the end of your zipper. Start applying glue one side of the cassette tape at a time and place your zipper alongside of it. Remember, go slow and be sure to keep the cassette sides aligned. Once cool, try your zipper to make sure it goes around the corners smoothly.
Fourth Step: Decorate the Inside
Cut a piece of felt to size (about a credit card size) and hot glue it on the inside of your cassette tape. Now your wallet is nice and decorated!
And you’re done! Now you have a fashionable wallet that you used out of your recycled cassette tape! Now you can reuse your favorite memories as a great accessory. Enjoy!


